- Published on
Building a Blog using Django and AWS Part 2: Glowing Up
By the end of my last post my blog was alive, functioning, and hideous. This post explains how I designed and deployed a nicer theme using basic HTML, Tailwind CSS and a healthy dose of hackery.
Getting a Template
Designing a blog from nothing is of course possible, but needlessly laborious when there is such a wealth of options freely available. I opted to use Tailwind CSS as it simplifies the process of creating nice CSS (a popular alternative is Bootstrap which comes with ready-made components but is less flexible as a result, making every Bootstrap website eerily similar). I particularly liked this design, created for use with Next.js and React.
React is an entirely different framework for developing websites and would not neatly slot into my Django backend. Instead of constructing a complex structure where Next.js would render the front-end and link to the Django backend via a series of APIs (with all the accompanying AWS nightmares), I decided to just tear out the HTML and CSS from the template and host it statically. Inconveniently, the HTML in the template was not accessible. The solution I found was to build the site locally, save each webpage and then crowbar out the HTML manually.
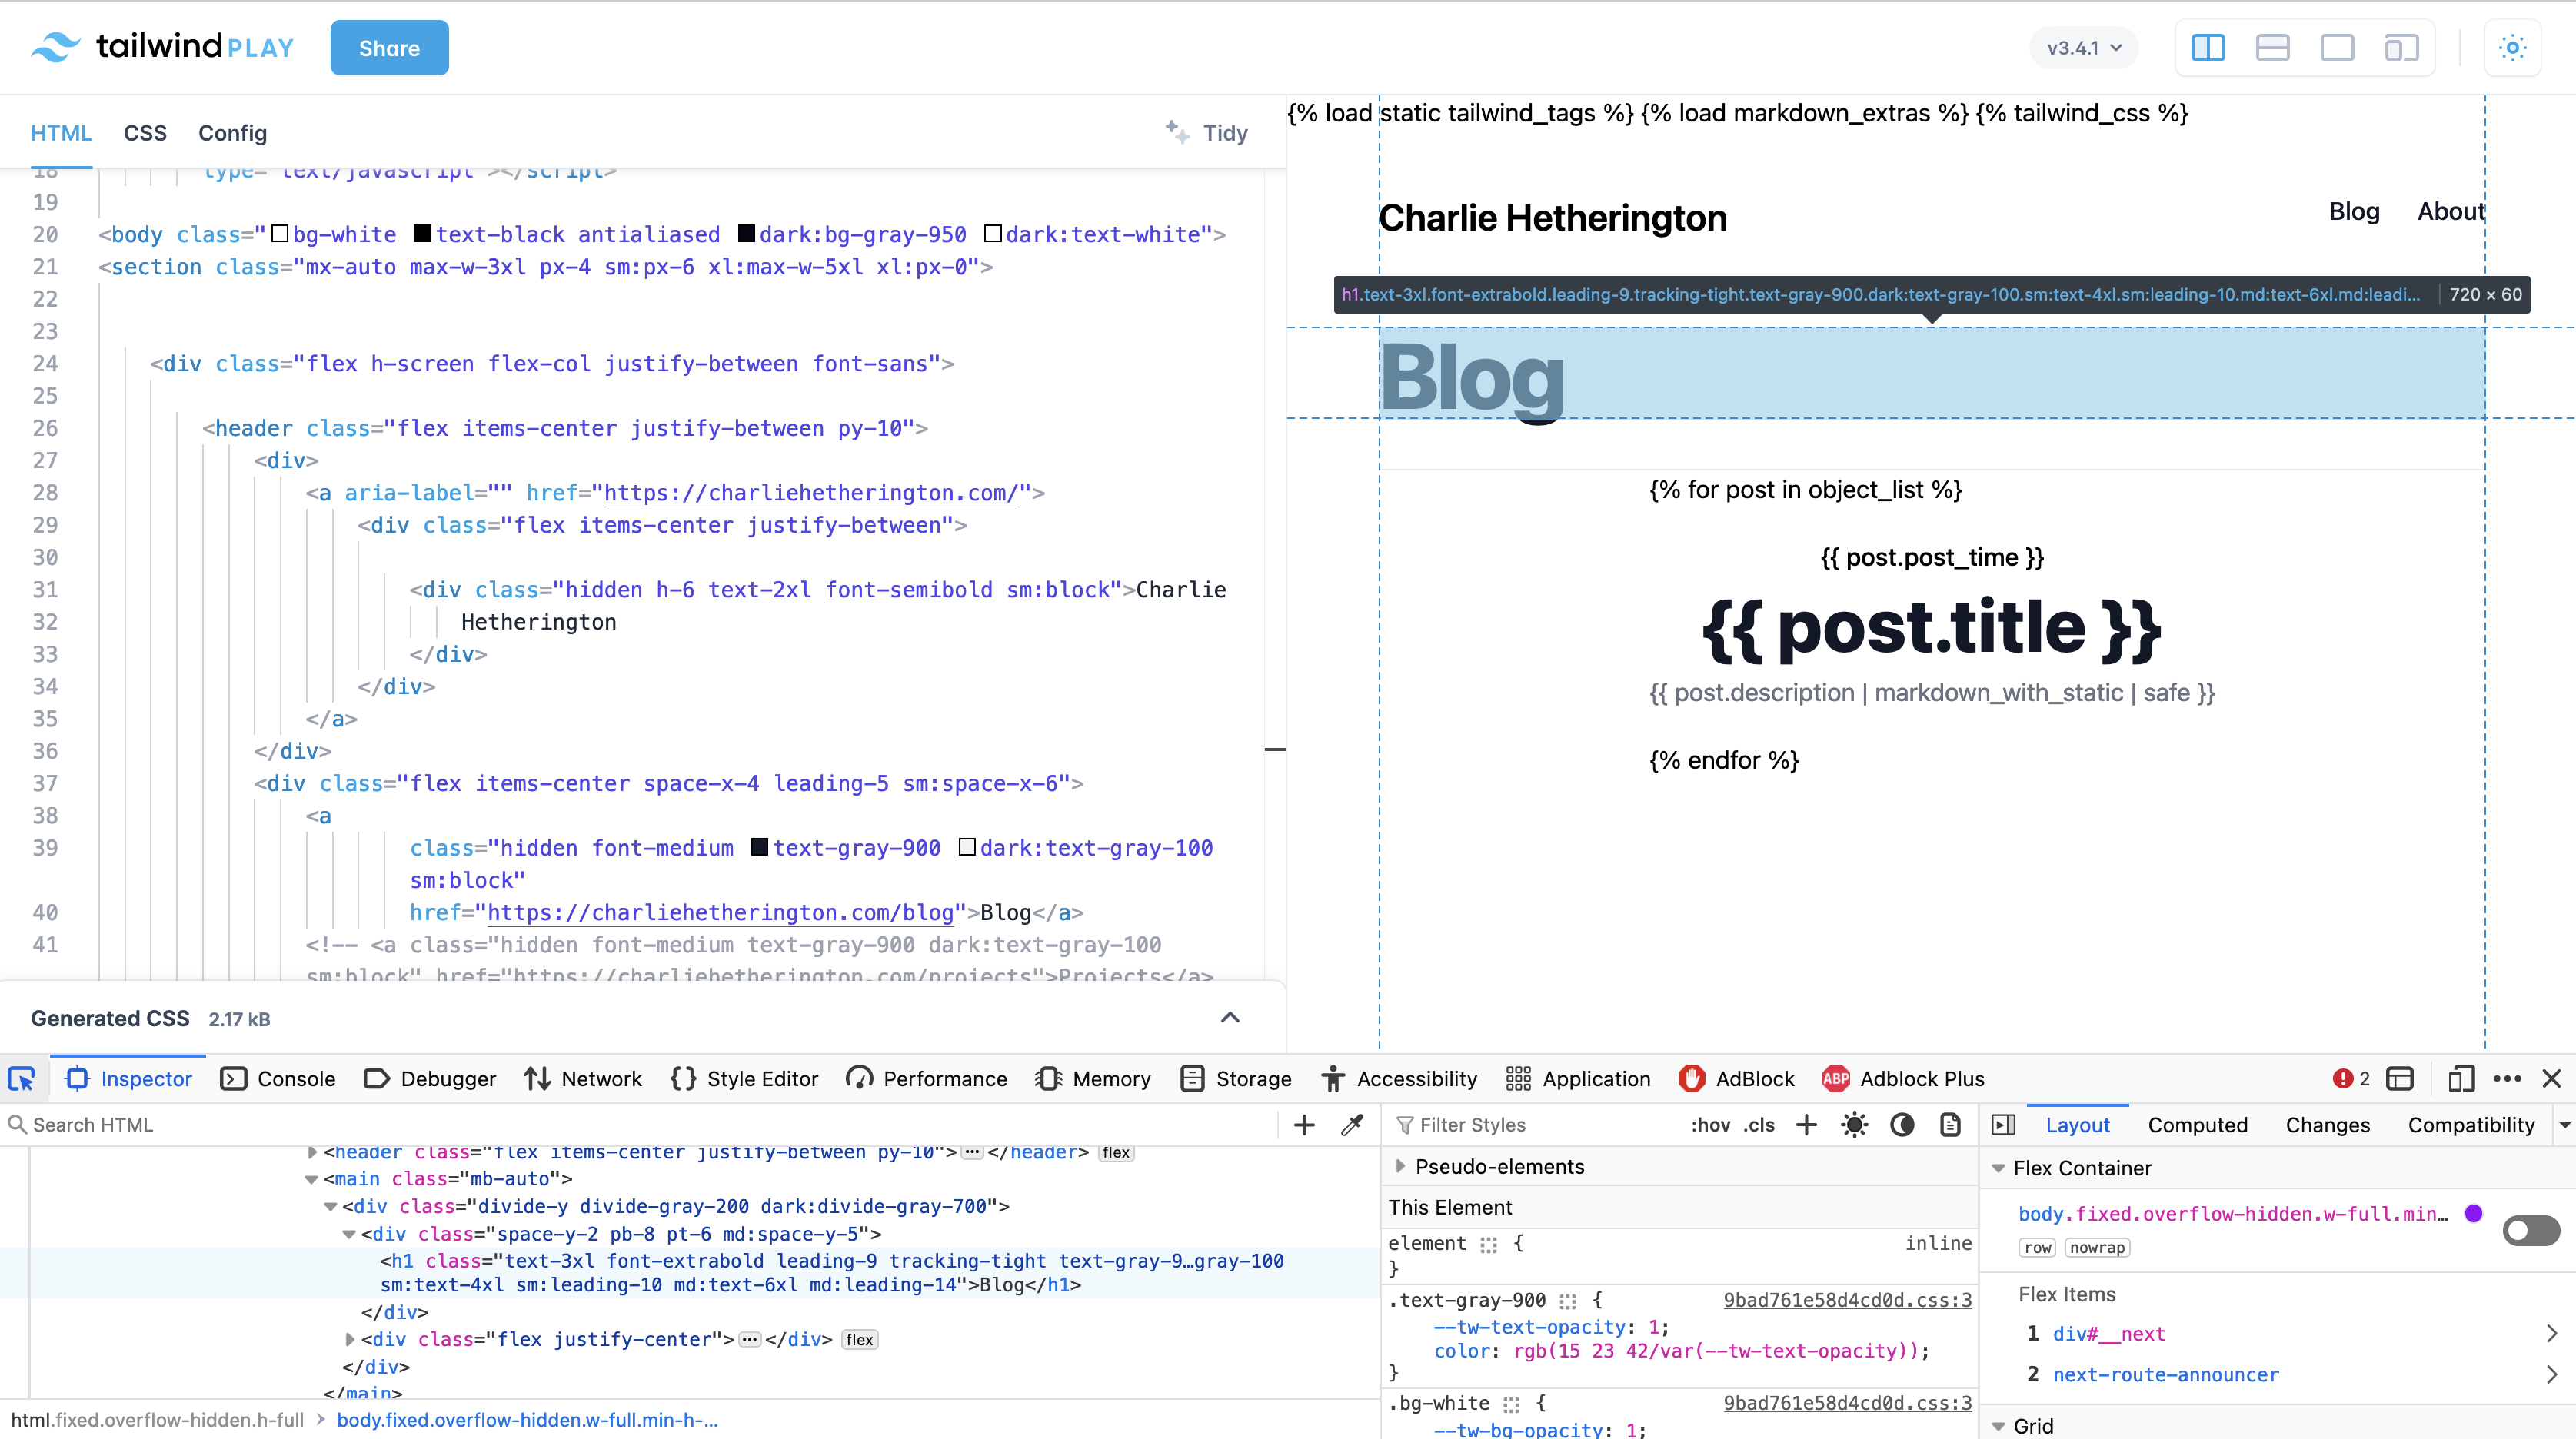
I then used the fantastic site tailwind.play to dynamically render each webpage. By using Firefox’s Developer Tools and selecting components, I could refashion the HTML quickly: removing unnecessary parts and adjusting others. Once I was pleased with my designs for each type of page, I adjusted them to take in the content supplied by the Django backend.
Pitfalls in Deploying
Making Django and Tailwind Mesh
Django-Tailwind is a vitally helpful Python package in setting up the required directories. Following its instructions greatly simplifies the process of arranging the Django application to work with Tailwind.
Building the Tailwind components on an EC2 instance is a little harder, as Tailwind first needs to be installed on the server and then applied to the project. The trick is finding the directory where the app (in this case, the website) is stored. When an updated app is first being deployed, Elastic Beanstalk puts it into a staging directory. Targeting this with the npm build command allows the installation to proceed smoothly. This can be done using the following script, which targets the Tailwind location set up by Django-Tailwind:
commands:
  01_install_node:
    command: |
      sudo curl -sL https://rpm.nodesource.com/setup_14.x | sudo bash -
      sudo yum install -y nodejs

container_commands:
  01_install_tailwind_dependencies:
    command: "npm install"
    cwd: "/var/app/staging/theme/static_src/"
  02_build_tailwind:
    command: "npm run build"
    cwd: "/var/app/staging/theme/static_src/"
Putting this script in the .ebextensions folder allows the script to run when the site is deployed.
Markdown and Pictures
Markdown is a standard way to include formatting (for instance, italic font or a table) on a website. It works by converting written text to HTML, which is then rendered according to the style rules set by CSS. I followed this tutorial to install Markdown in my Django application. The crucial part of this tutorial is the markdown filter:
import re

from django import template
from django.template.defaultfilters import stringfilter
from django.utils.safestring import mark_safe

import markdown as md

register = template.Library()


@register.filter()
@stringfilter
def markdown(value):
    return md.markdown(value, extensions=['markdown.extensions.fenced_code'])
When applied, this function uses the md.markdown package to convert the markdown formatting into HTML. This worked nicely, with the crucial exception of pictures.
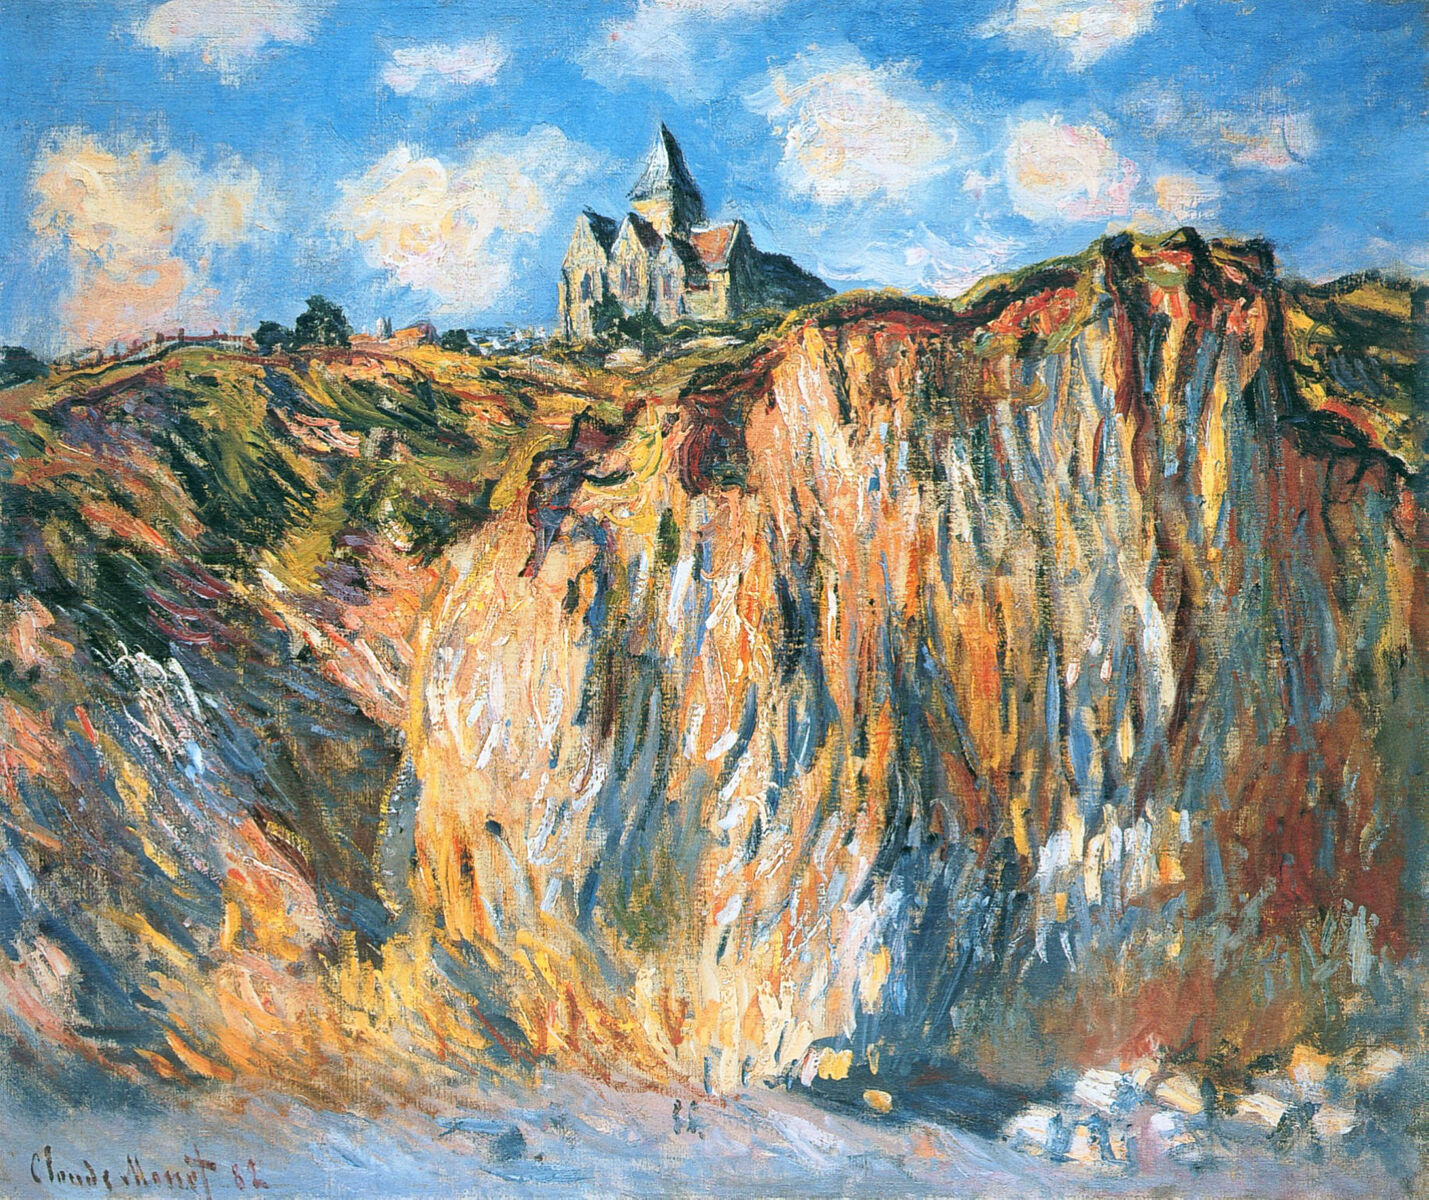
In HTML, photos are included using the <img> tag, as shown here: <img src="/static/content/Monet_Church.jpg" class="max-w-full h-auto object-contain">. This tag tells the browser to look for the source image specified (in this case a lovely Monet painting of the church at Varengeville-sur-Mer) and render it within the page. Using the standard markdown filter, image tags were displayed as a raw text.
To get around this, I replaced the markdown template filter with this custom one:
from django.templatetags.static  import static,do_static
from django.utils.safestring import mark_safe

@register.filter(name='markdown_with_static')
@stringfilter
def markdown_with_static(value):
    """
    Replaces /static/path with the actual static URL
    """
    static_pattern = re.compile(r"/static/(.*%3F)")

    replaced_content = static_pattern.sub(lambda m: static(m.group(1)), value)
    # Convert Markdown to HTML
    html = md.markdown(replaced_content)

    return mark_safe(html)
This uses regular expressions to search the markdown for expressions that match the Django static tag. It then passes the pattern to the Django static function which replaces the tag with the actual URL to the image file. With the image location correctly specified, it then converts the rest of the markdown document to HTML.
Nginx Transfer
I got a 413 error with Nginx which complained that I was trying to upload too large of a file each time to the site.
I solved this by adjusting the variable client_max_body_size in a single line file as so:
client_max_body_size 50M;
This sets the maximum upload size to 50 MB. The correct place to put this file in the Elastic Beanstalk set up is <app_name>/.platform/nginx/conf.d/client_max_body_size.conf